Hexacopter | FPV – Tarot Gimbal T-2D GoPro4

Inizia la fase 2 dell’assemblaggio: montare un sistema video a bordo con orientamento comandabile dalla radio.

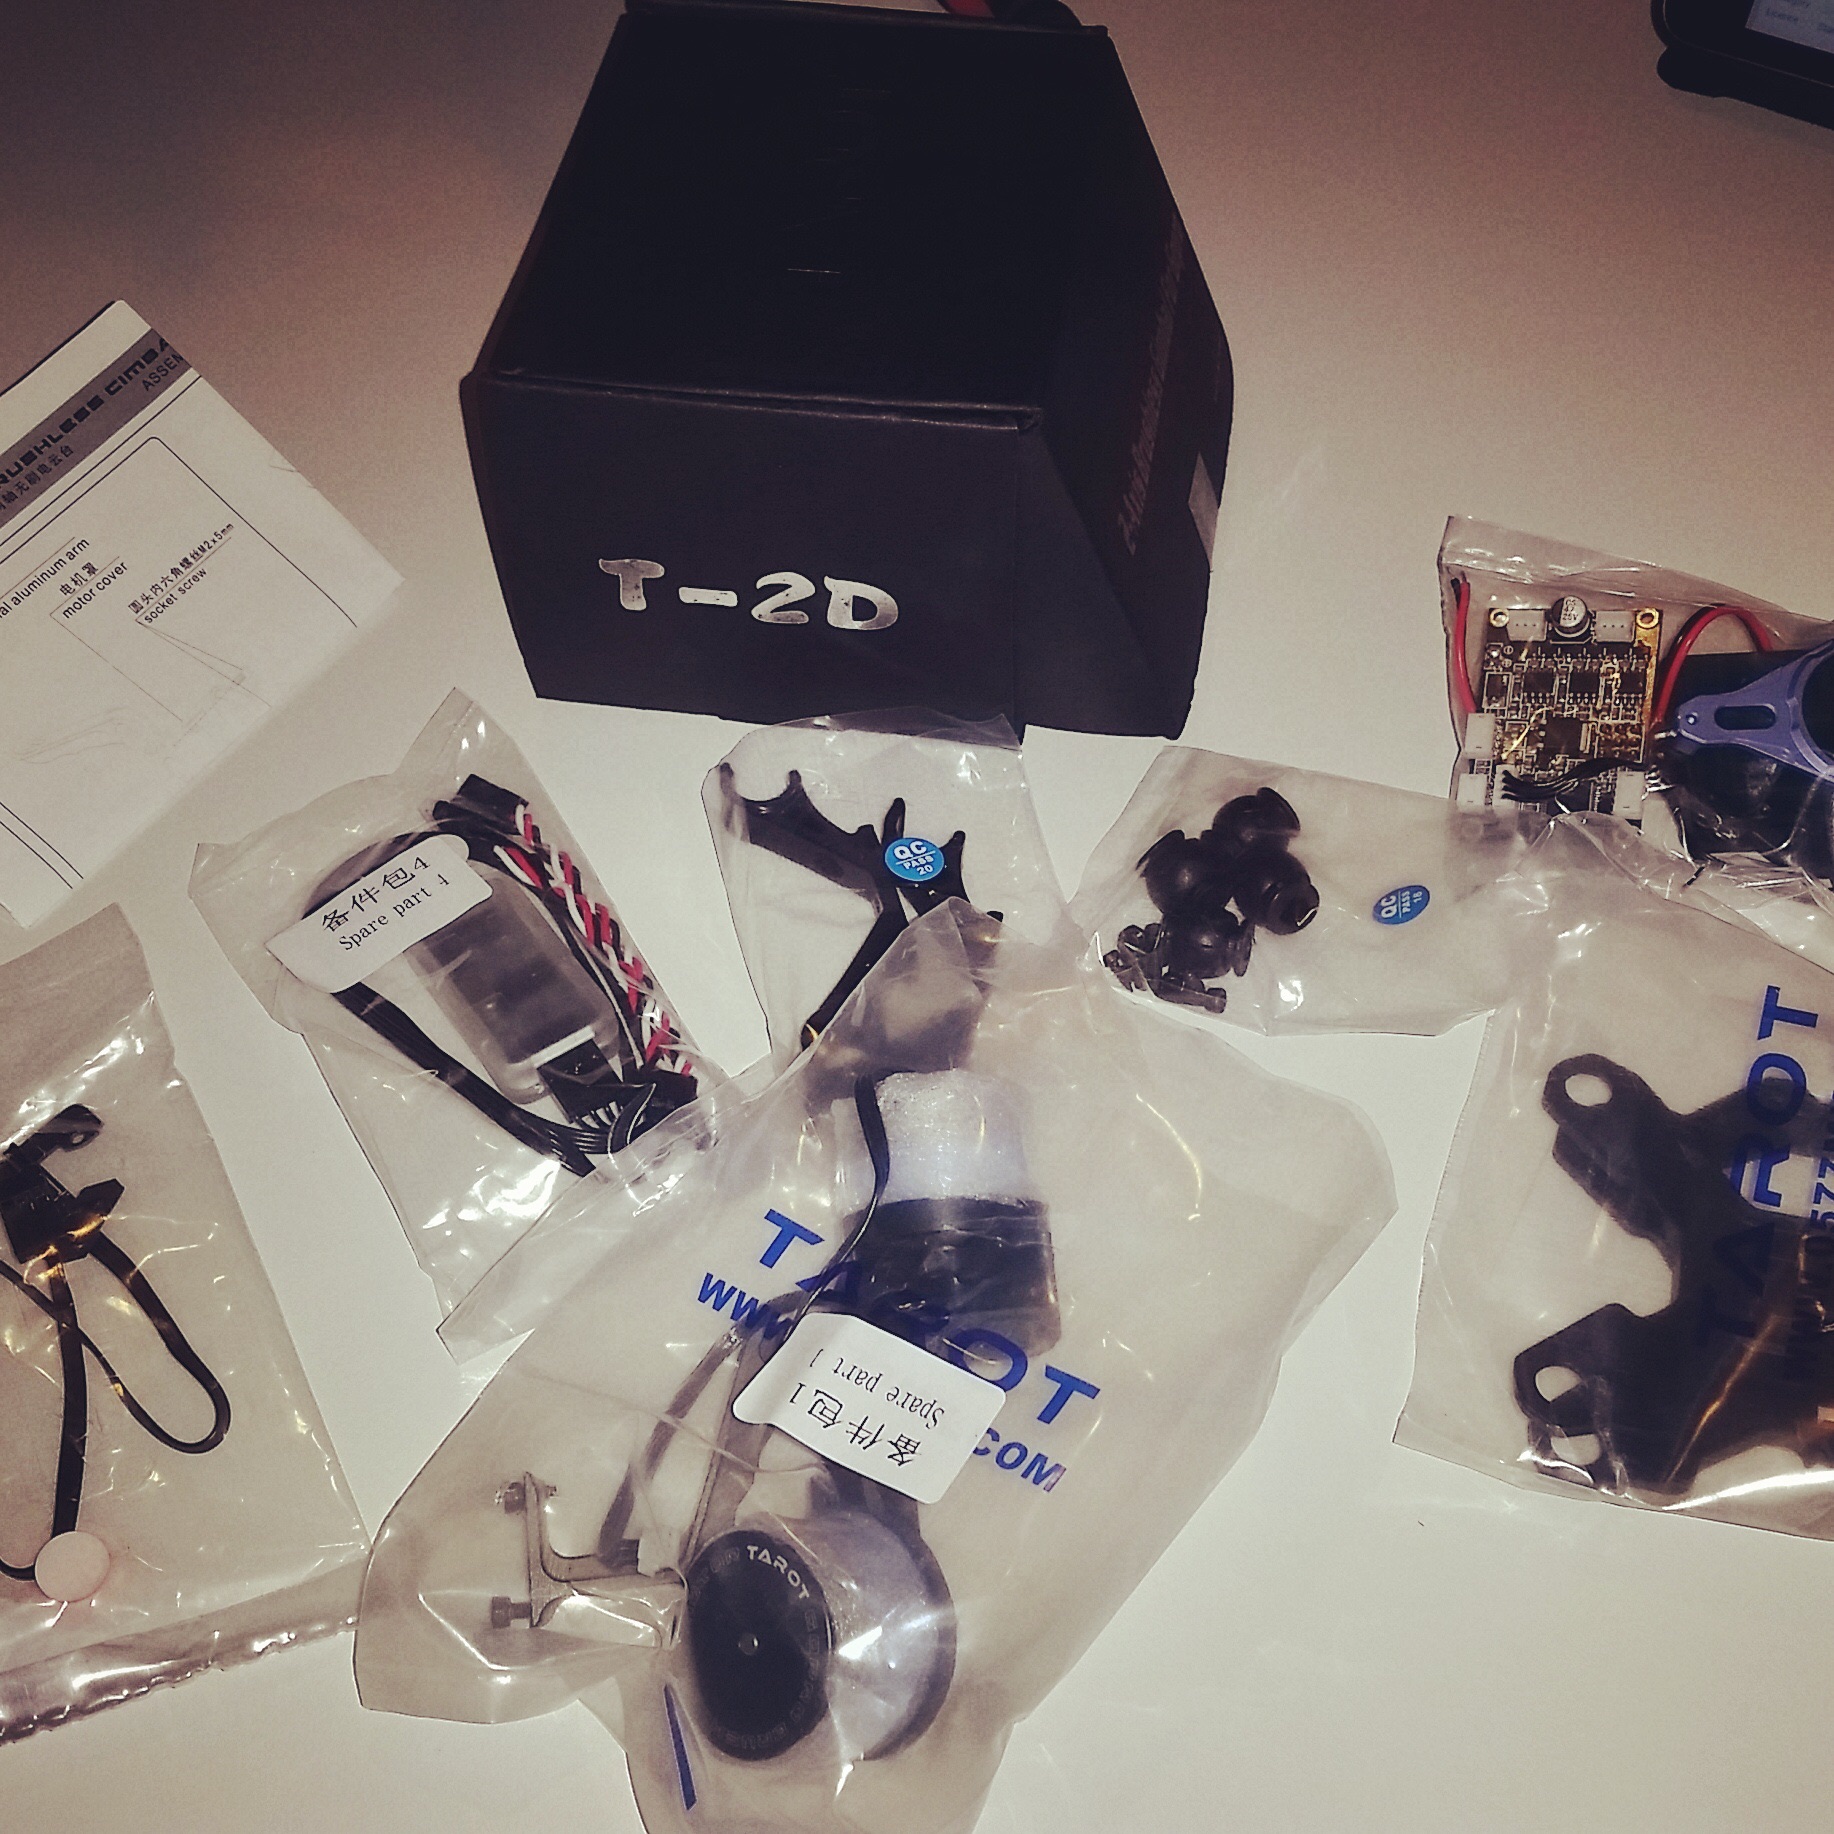
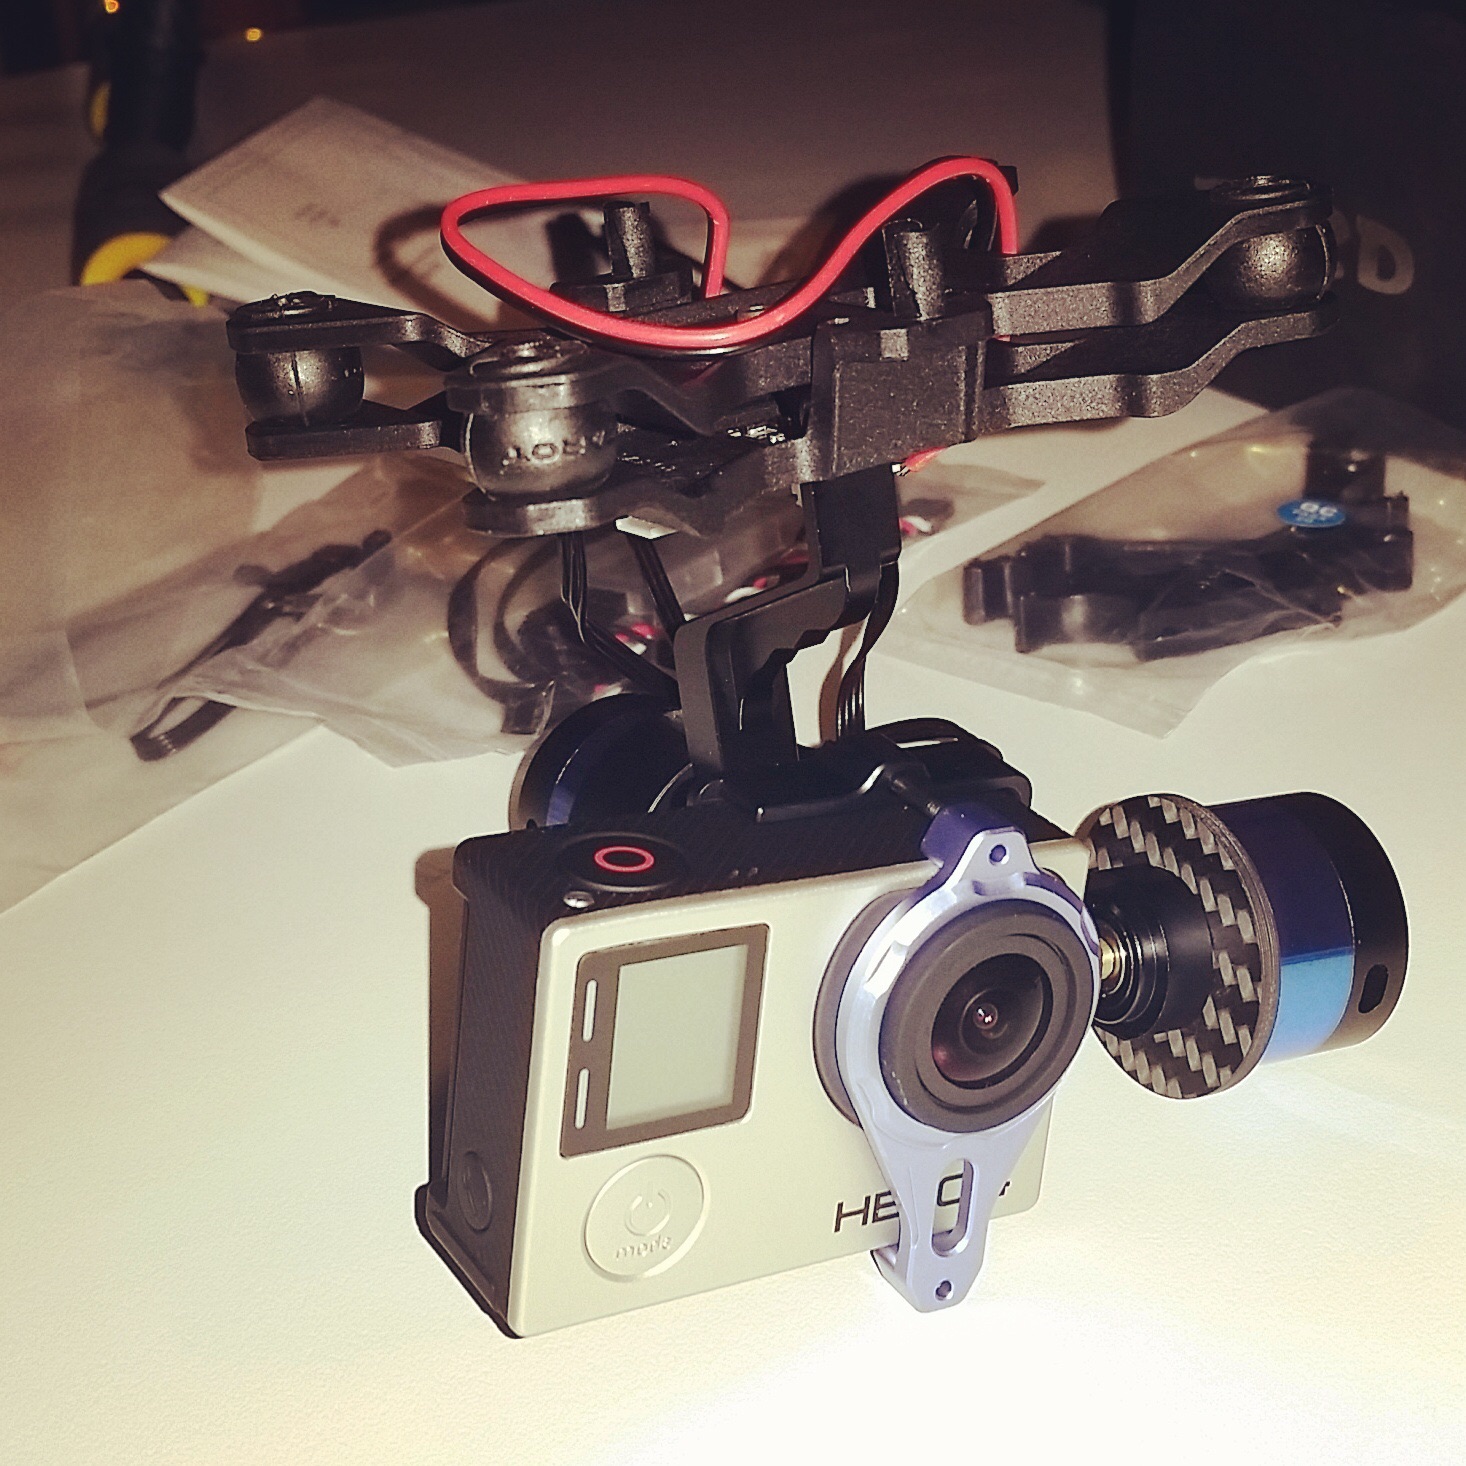
Dopo mesi di documentazione e un viaggetto negli States in visita nei principali store dedicati ai droni, la scelta è ricaduta su un sistema gimbal a due assi (Tarot T-2D) è una action-cam di ultima generazione (GoPro4 Black Edition). Avevo valutato anche l’ultima Hero4 Session, più compatta e leggera rispetto la classica GoPro, resistente all’acqua (non ha bisogno dello scafandro) ma non è adattabile ai vari sistemi gimbal disponibili sul mercato ma sopratutto sto assemblando un mezzo aereo non subacqueo :-).

Avevo immaginato gli States come il paradiso dei droni, mi ero creato delle aspettative da Serie Tv – immaginavo droni a fianco al banco del pane del supermercato – in realtà devo dire è stata una mezza delusione, l’offerta online è decisamente più ampia. Così, di rientro dalla Silicon Valley, ho scalzato la delusione con l’acquisto dell’ultimo minuto presso lo scalo di Londra dove ho preso la GoPro4 Black Edition al corner Dixton e, non contento, collegandomi a una Wi-Fi dell’aeroporto e in attesa del volo di rientro, ho acquistato la gimbal Tarot T-2D dagli amici cinesi di Hobbyking.

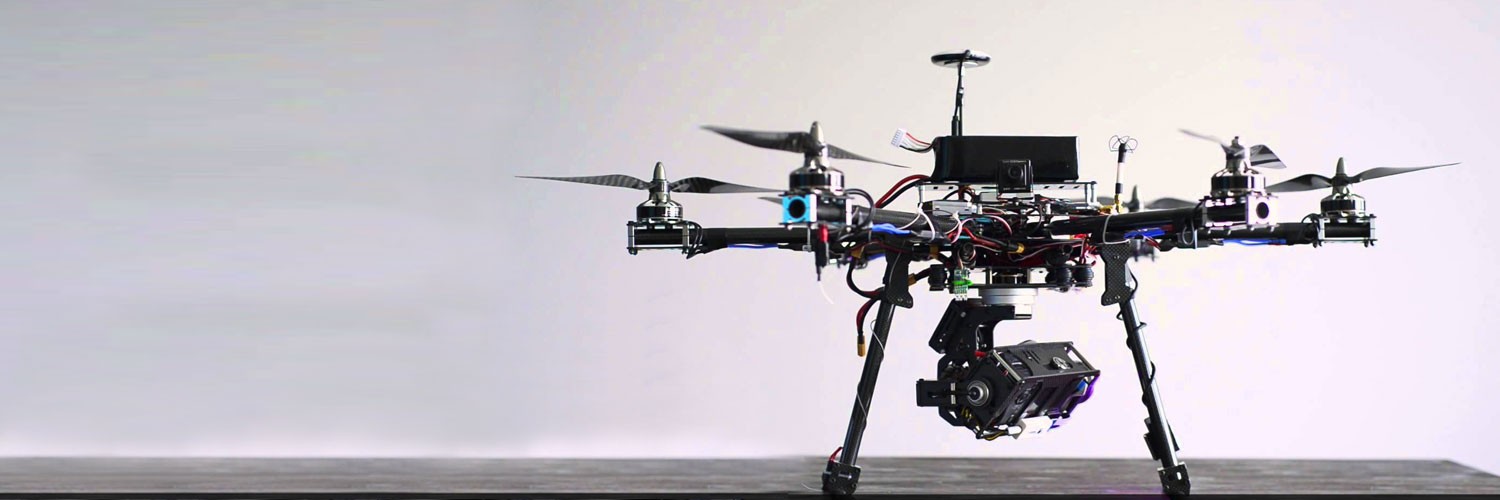
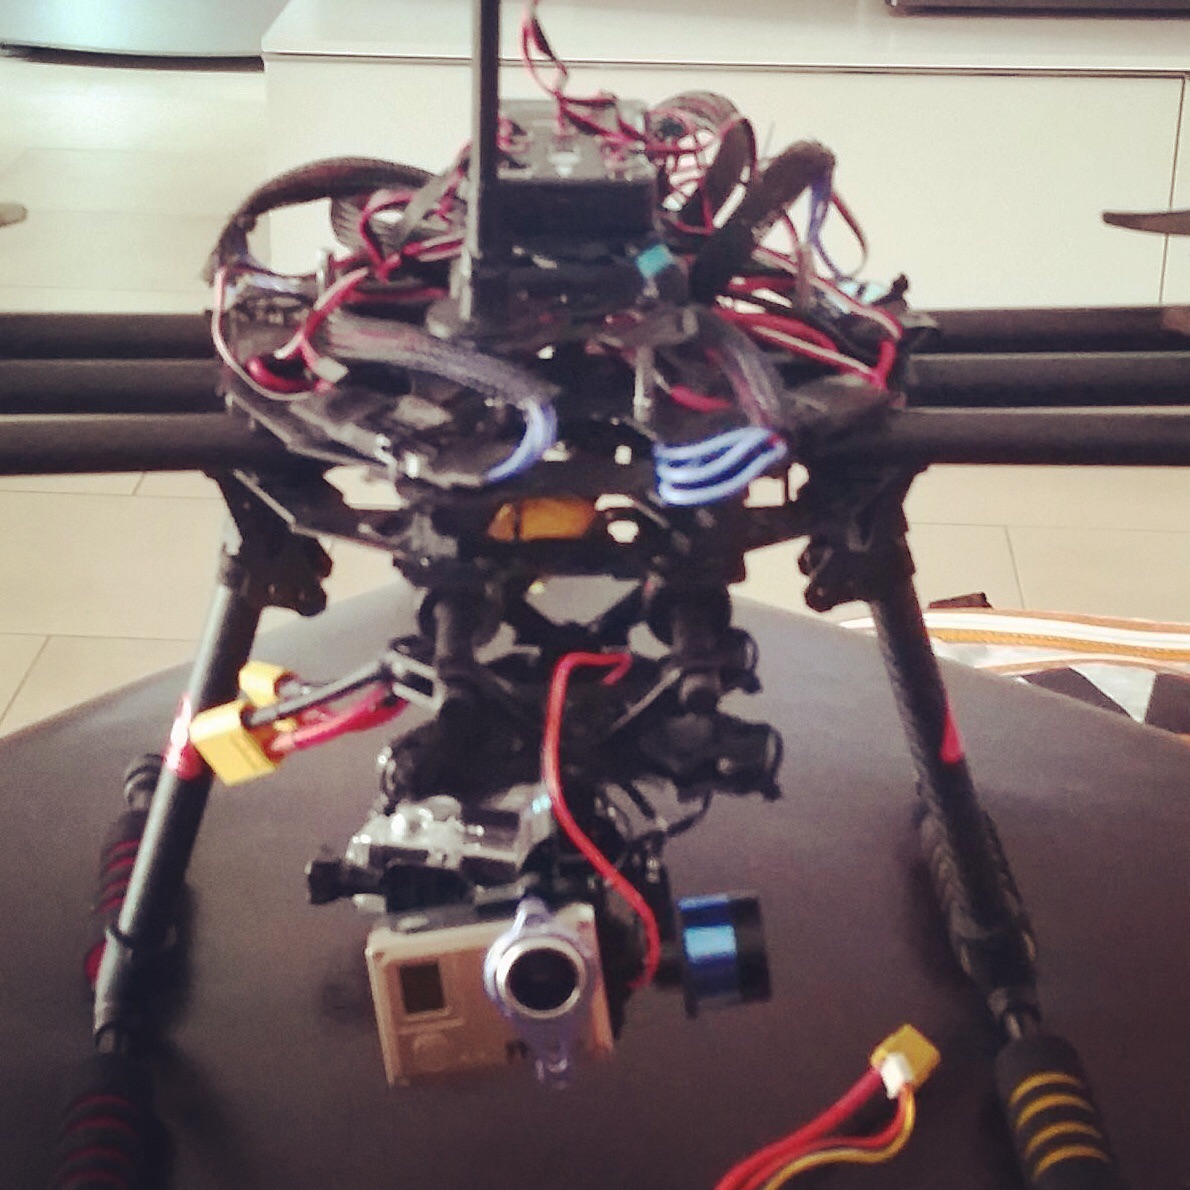
L’assemblaggio della gimbal con GoPro non è complicato quanto la fase di messa a bordo dove occorre valutare bene la distribuzione del carico per garantire la bilanciatira del mezzo e la sua efficienza.

Tarot T-2D - unboxing

image

Tarot T-2D - onboard

La prossima configurazione sarà dedicata al sistema FPV e alla trasmissione Video (TX) con la postazione display (ground station) dotata di doppia ricevente (RX) a 5.8Ghz: non ho ancora deciso se montare una doppia telecamera, nel dubbio quindi meglio prevedere una ricevente adatta all’eventuale implementazione.

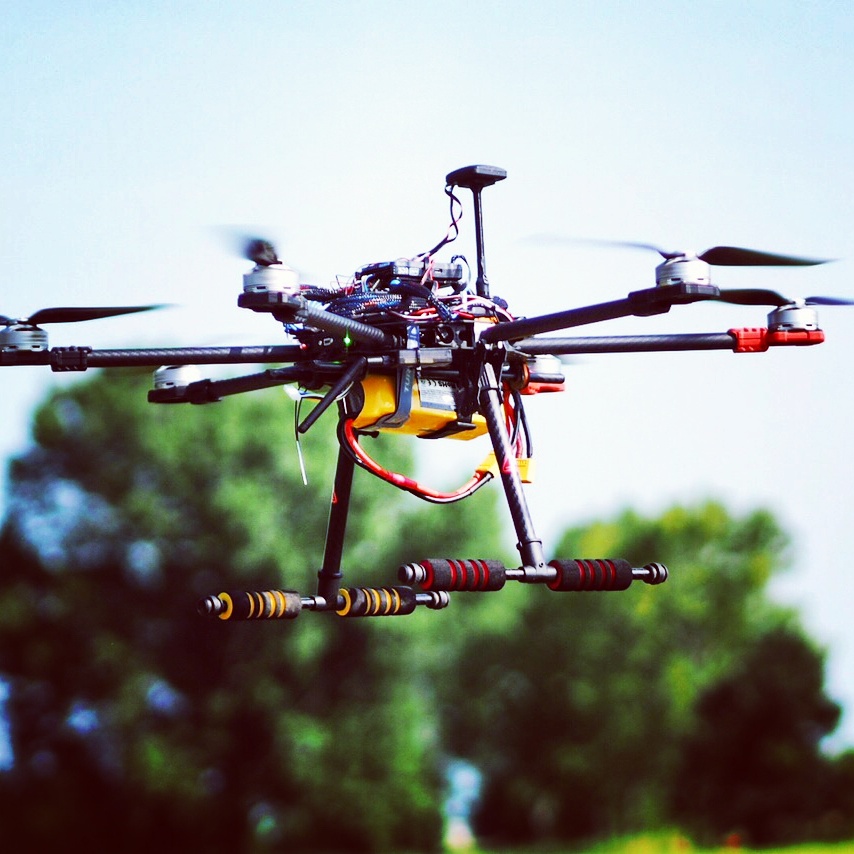
Sono curioso di vedere la reazione del mezzo con un payload decisamente superiore (+ 1.5Kg) rispetto alla configurazione già collaudata in volo, per questo motivo sacrificherò una action-cam low cost per limitare i danni in caso di crash 🙂

… Stay tuned …

Tarot FY690s – in volo

In barba agli increduli siamo arrivati al tanto atteso momento del primo volo!
A parte un’errata configurazione della radio individuata in fase di decollo e corretta prima della catastrofe (consiglio vivamente una bella check-list oltre a alle norme di base), il primo stacco da terra è andato bene!

IMG_20150705_001022L’avventura è stata documentata nel blog:

I prossimi passi saranno:

  • installazione e configurazione sistema FPV con gimbal
  • configurazione ground control station
  • collaudo diverse modalità di volo

Stay tuned!

Andavo a “250” e col BackFlip…

Fiero del mio fantastico ARRIS X-SPEED classe 250 mi accingevo al mio consueto volo infrasettimanale quando, dopo il decollo e il giro nel campo di grano accade l’impensabile:un BackFlip improvviso e derivante schianto al suolo!!!

Fortunatame tutto ancora integro, il grano alto ha attutito la caduta (solo i props da cambiare…) .

L’accaduto mi ha fatto riflettere:

  • Come evitare di fondere le eliche sul piatto motore per cercare il drone in mezzo al campo di grano… LOL:CC3D Alarm Buzz


Chiudo immedesimandomi un po’ in Nico Cereghin: “Campo isolato lontano da persone e cose, volo a vista nei limiti ENAC e PRUDENZA, SEMPRE!!!”.

Norme generali sulla Sicurezza – leggere prima di volare

Riporto alcune regole generali sulla Sicurezza. Un vademecum che ogni pilota/modellista dovrebbe sempre tenere in considerazione.
Le riporto in inglese così come proposte sul sito Ardupilot.
In particolare, il prontuario fa riferimento all'utilizzo della FlightController APM/PX4, la stessa utilizzata nel progetto di assemblaggio dell'esacottero descritto su questo blog.
Tuttavia si tratta di regole generali da osservare con qualsiasi drone.

Your first priority must absolutely be the safety of people!

Multicopters are essentially Flying Lawnmowers!

  • Especially while you are learning, it is recommended that you avoid, stiff, ultra-sharp carbon fiber props.
    • Get cheaper more flexible and more breakable plastic ones.
    • Some carbon fiber props cut better than a Ginsu and while they are almost indestructible, you are not.
  • Crashes can happen, because of pilot error or hardware or software malfunction.
  • If you are flying anywhere near other people, you are putting them at risk!
  • Be sure to maintain safe distances between yourself, and spectators and your copter.
    • Circumstances will require that you will need to make your own determination of what is a “safe distance” from people and property.o At a minimum, consider: at least 10ft (3m) but not further than 30ft (10m) from you.
    • Keep all other people, property and obstacles considerably further away from your copter.
    • Ensure that no one gets between you and your copter.
    • Spectators should always be a safe distance behind the pilot.
    • If people intrude beyond what you have determined to be the “safe” area, land immediately and do nottake off until they are clear.
    • At full power, an average sized multi-copter can exceed 20 mph (32 km/h), can ascend to hundreds of feetand easily travel more than a mile in distance before running out of battery.
  •  Always ensure that the battery cable is (NOT) connected to the power distribution board or harness until you are ready to fly.

    • After landing the first thing you should do is disconnect your battery cable. o Always remove your props while you are testing motors.
  • Your hands, arms and face and those of your friends will thank you.
  • When the battery is connected, always assume the motors are armed.
  • Check with a short throttle pulse.
  • Don’t pick up the model and the radio at the same time, you may bump the throttle. o Do not attempt to fly longer than your batteries safe capacity.
    • At a minimum it is very hard on the battery and at worst you will crash destructively.
  • The APM and PX4 flight controllers we use incorporate a motor arming safety feature.
    • Immediately prior to flight after the battery has been connected, the RC transmitters throttle stick needs to be held down and to the right for several seconds to arm the motors.
    • After landing your first response should be to hold the throttle down and to the left for several seconds to “Disarm” the motors.
    • Disarm condition can be tested by moving the throttle stick up, if the motors do not move it is dis armed.
    • Even when disarmed, the throttle stick should always be kept in the full down position except when flying.
  • Get used to switching back to Stabilize mode from other modes and reassuming full manual control.
    • This is the single most important recovery technique (practice it).
    • Stabilize mode can have Simple mode added to it, but if you do, practice with it till you are proficient.
    • Do not use any modes other than Stabilize or Stabilize plus Simple until you are VERY comfortable flying.
  • Important primary response to a crash, inadequate landing or unknown flight controller state.
    • The first thing to do is throw a towel over your copters propellers (Propellers may start spinning unexpectedly).
    • Then immediately disconnect the battery.
    • A large towel is your most important piece of safety equipment followed by a fire extinguisher and a first aid kit. – – Generally better to use the first one than the last one.
  • When testing or flying any of the navigation modes (using GPS):
    • Ensure that your GPS has “Lock” before arming and takeoff.
    • Check that your home position on the Mission Planner is in fact correct.
    • Sometimes GPS’s do not report the home position accurately, reboot if not accurate and wait for 8 or more satellites (not just 3D lock) and check again.

Keep a safe distance between your Copter and People!

These tips can also help protect your multicopter from damage.

  • Avoid sudden or extreme transmitter control stick deflections
    • Move the control sticks in small measured increments and don’t “yank” on them.
    • If the copter is properly calibrated and balanced it should require only small stick inputs to control altitude, direction and speed.
    • Your copter should be more or less stable on the horizontal plane without any control inputs.
    • If you are “fighting” the copter, land and fix it – something is not right – Hardware adjustment or software calibration may be required.
    • Be especially careful of large throttle inputs, as a copter can gain (or lose) altitude very rapidly.
  • Because MultiCopters are symmetrical it is especially easy to lose Visual Orientation.
    • For manual flight modes, maintaining a clear vision of the Copters Orientation (direction it is facing) is the most critical part of successful flight.
    • Especially while learning it is very important to keep your copter appropriately close to you to aid in maintaining visual orientation.
    • Generally: more than 10ft (3m) but not further than 30ft (10m) from you.
    • If the copter gets further than about 100ft (30m) it starts getting difficult to be able to maintain orientation and can easily crash.
    • If you lose Yaw orientation while flying in Stabilize mode, try only flying forward and using yaw to steer like a car.
    • It is much better to simply descend and land rather than have an orientation-induced crash or fly away.
      • Fly-Aways often happen when the copter is commanded to tilt back towards the pilot but has rotated in the meantime and is so far away that orientation is lost.
      • Result: the copter flies further away and crashes or is lost.
  • Always have Stabilize mode as the (Go To) one of your 3 options.
  • High or unexpected winds or gusts can make flight considerably more difficult.
    • High winds can prevent forward progress or spin the copter around causing you to become disoriented.
    • The higher you are, the more likely high winds will be a problem.
    • Switching to Stabilize mode and landing before you reach your skill limits can help you save your copter.
  • Avoid flying at high speed or high altitude until you have gained considerable confidence in both manual and automatic modes.
  • When flying around trees or buildings it is very easy to lose visual orientation or even to lose sight of the copter completely.
    • Gusting winds around objects can also worsen the problem and radio signal loss can also occur.
    • If your copter is approaching a potentially interfering object, immediately switch to stabilize mode and land or retrieve the copter to your location.
  • ArduPilot specific safety modes: RTL, FailSafe and GeoFence.
    • RTL can provide a safe Return to Launch if it starts to get away from you.
    • FailSafe and GeoFence can assist you with keeping the copter in a safe proximity.
    • Do not rely on the above safety modes, always be ready to take control in stabilize and land the copter. o Especially do not rely on the above safety modes to perform maneuvers or training that you would otherwise consider dangerous.
    • These modes are a supplement to, not a replacement for sound safety practices.
  • On your first takeoff after tuning or hardware setup
    • In stabilize mode advance the throttle very slowly until the copter is almost hovering.
    • If the copter is trying to flip over turn it off and correct the problem, a motor could be turning the wrong direction, or a wrong direction prop could be installed.
    • If the copter tries to rotate on it’s axis or fly off in some direction the transmitter or RC setup may be incorrect, a motor or ESC may not be performing properly or the props may be installed incorrectly.
    • When all problems are fixed it should be fairly easy to get the copter to hover a foot or 2 above the ground. o If a stable and stationary hover a foot or 2 above the ground cannot be achieved, land and fix the problem
  • When flying FPV “First Person View” (with a video camera), Set modes to: STABILIZE, SIMPLE, and RTL.
    • Ensure RTL is working properly before using FPV,
    • Use Stabilize mode to fly FPV and If you lose FPV video switch to Simple or RTL to get back.
  • Make sure your battery can’t fall out, use a Velcro Strap to hold it in place.


Keep Calm and Build – Tarot FY690s | parte 5

Sincronizzazione degli ESC (Hobbywing 30A Opto Platinum) avvenuta.
Ora i motori sono allineati e non ci sono più ritardi nella partenza a parità di accellerazione (throttle).

Da segnalare: la procedura riportata nel manuale degli ESC (vd. Throttle Range Setting) non è corretta. Non bisogna attendere l’emissione del “music tone” ma occorre intervenire al primo “beep”.hobbywing_30A_platinum_throttle_range_setting_1

Difatti, il “music tone” indica l’accesso alla modalità di configurazione (programming mode – ndr). E’ facile riscontrare lo stesso problema negli ESC che prevedono la modalità “programming mode” mantenendo il throttle al massimo all’accensione della trasmittente. hobbywing_30A_platinum_throttle_range_setting_2

Ultima considerazione, come suggerito su ArduPilot (rif. http://copter.ardupilot.com/wiki/initial-setup/esc-motor/) tutti gli ESC sono stati impostati con i parametri consigliati:

  1. Brake: OFF
  2. Battery Type: Ni-xx(NiMH or NiCd)  (even if you’re using Li-po batteries this setting reduces the likelihood that the ESC’s low voltage detection will turn off the motors)
  3. CutOff Mode: Soft-Cut (Default)
  4. CutOff Threshold: Low
  5. Start Mode: Normal (Default)
  6. Timing: MEDIUM